
Introduction
The newest release of Adobe Lightroom CC 2015 has a new tool called Dehaze which is stated to “dramatically improve images by removing haze”. I have been wondering if this tool is applicable to underwater situations that mimic haze (scatter and low vis).
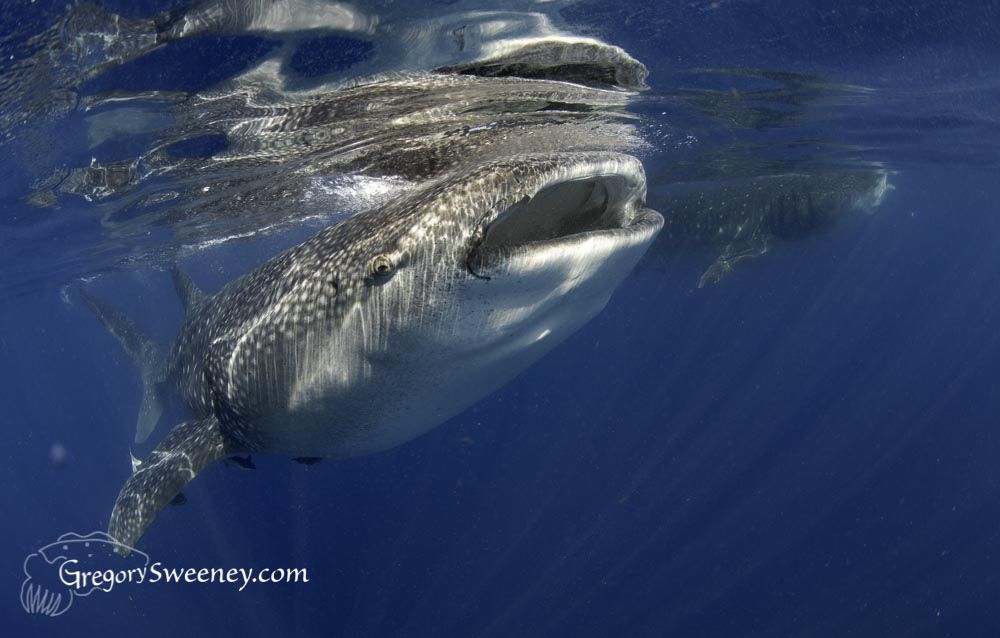
In this demonstration I take a pretty good underwater image that feels a little “hazy” or “Milky” and apply the Dehaze tool like a secret weapon to see if it improves the sharpness of the image. I also compare it and combine it with the Clarity tool – another finishing touch secret weapon.
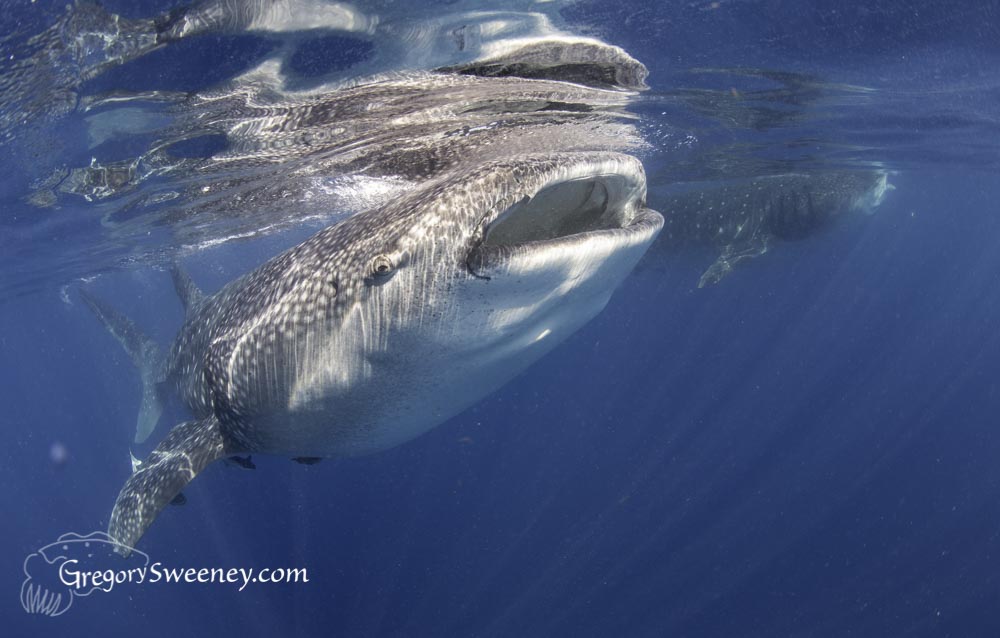
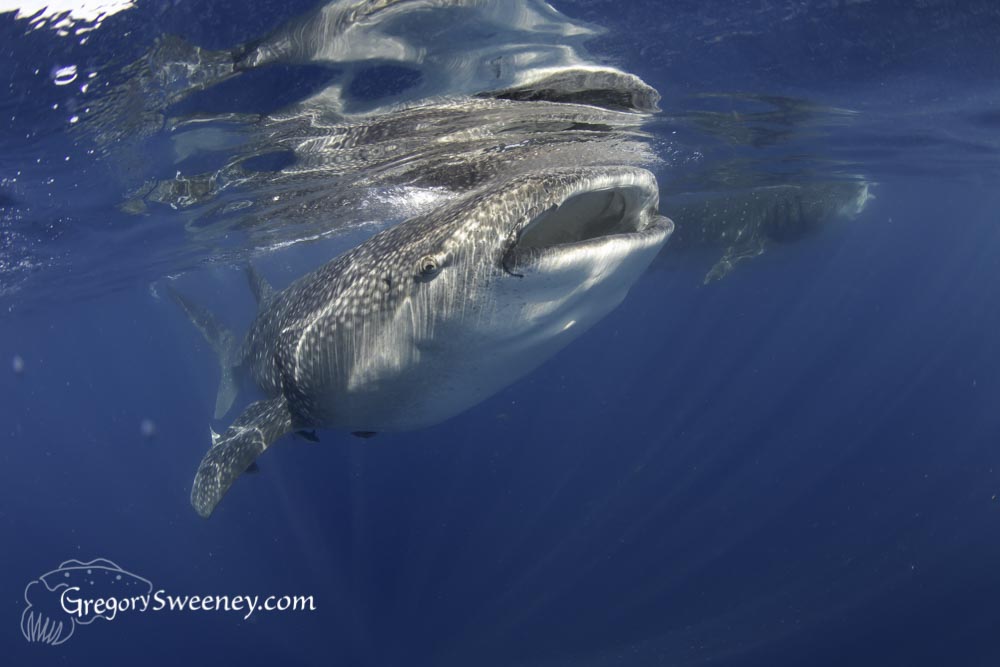
The Original Image
(click on photos to enlarge)
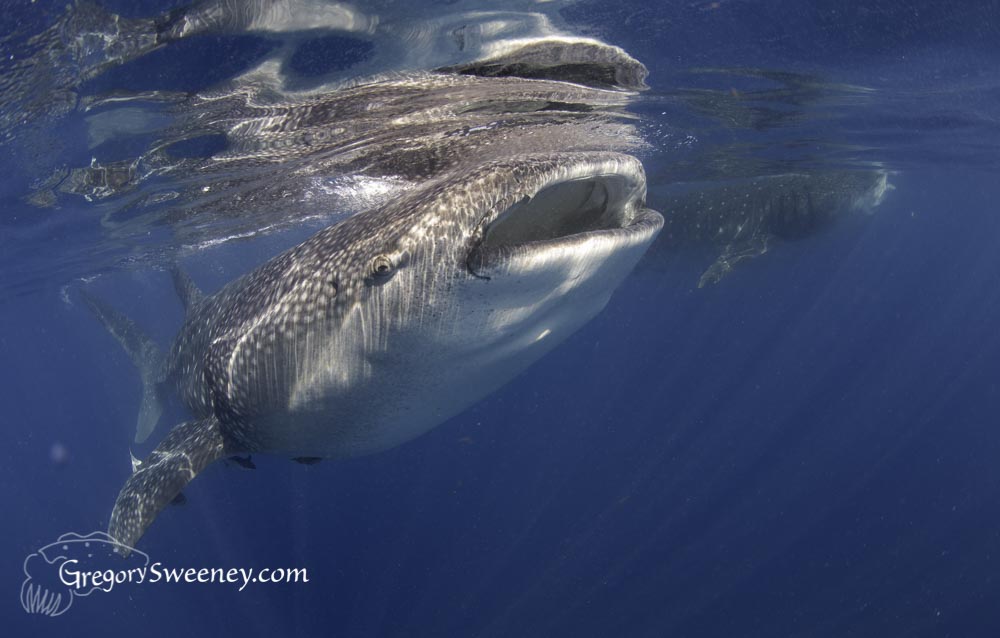
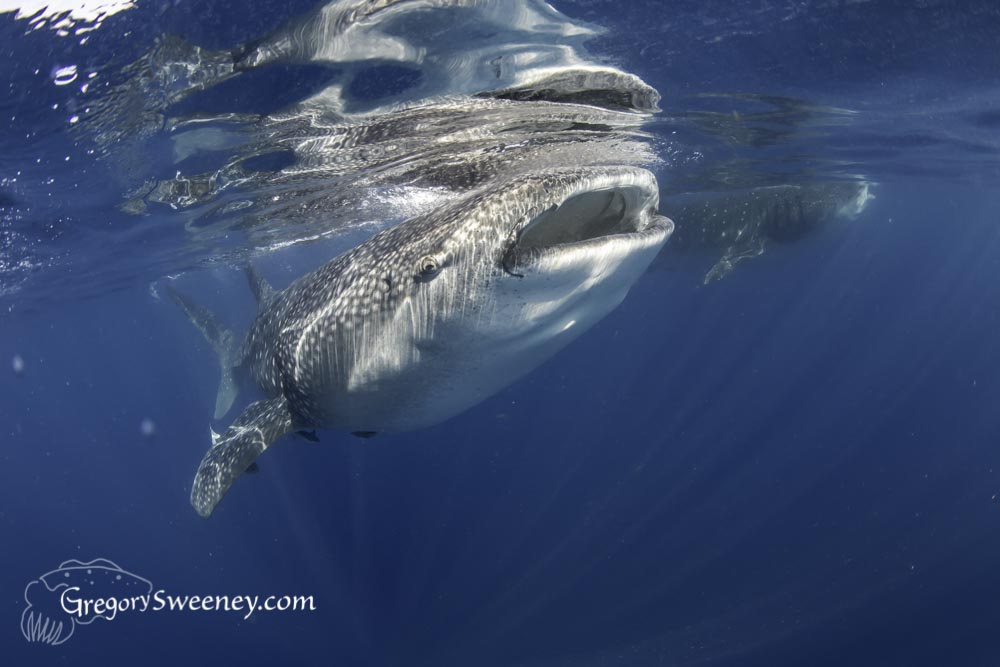
The Image with some Exposure, Curve, and Color adjustments
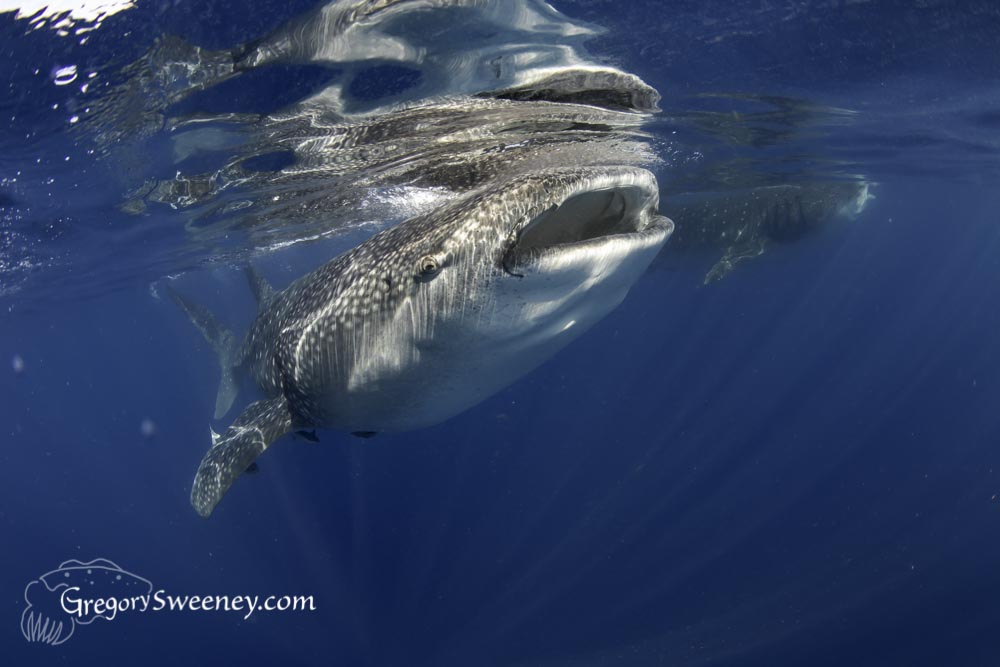
Adding the Clarity Adjustment
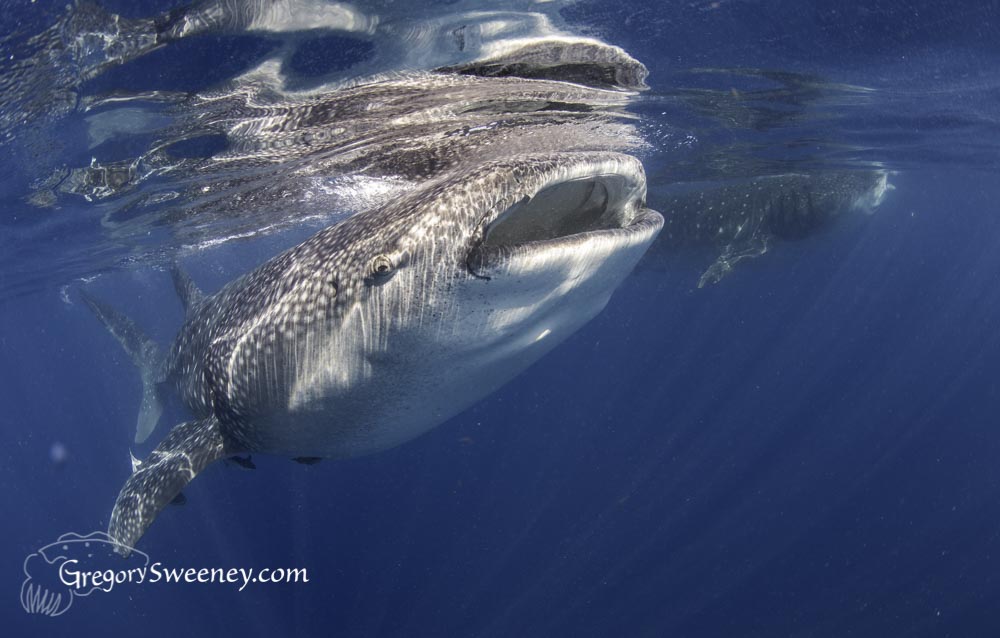
As per my usual method, I add the Clarity adjustment to the image right at the end of my process. The Clarity slider adds mid tone contrast, lending a sharpness to the image. I don’t normally Sharpen beyond the default setting unless I am presenting elsewhere besides on screen. If it is to be viewed very large or printed I get serious and sharpen in Photoshop.
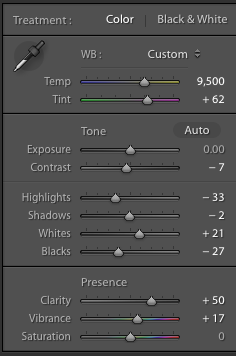
I used a fair amount of Clarity to pop out details on the whale sharks face. It is a good effect and I am happy with the results.
Also you can see my Exposure settings from the beginning of my processing which back off the bright highlights (the white upper lip near the surface) and boosts some contrast in the mid tones on the body by separating Shadows and Whites, and adding darkest tones by decreasing the blacks. Not seen here are further adjustments to the Curves to manage the Highlights, but that is a different topic.
Using the Curves Tool in Lightroom
Color Correcting beyond the White Balance
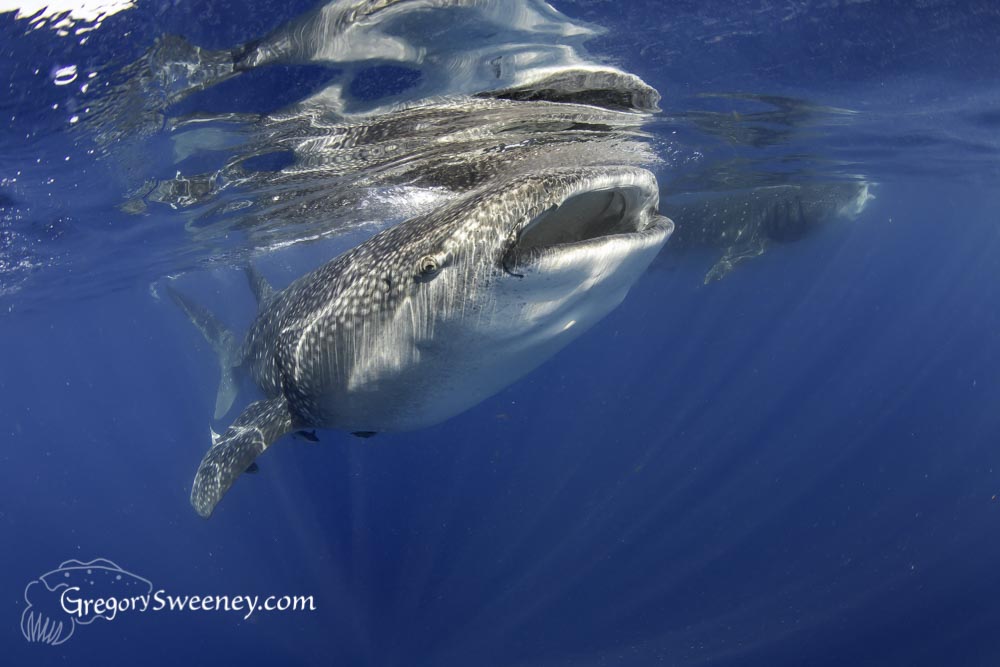
Trying a Dehaze Adjustment
With a just a Dehaze adjustment – clarity set back to zero
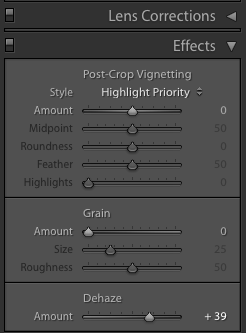
Dehaze was a bolder effect, but similar to a Clarity, but I see a slight “enriching” of the colors as if the smarts behind this tool also effect a certain color range. I like the effect, but might have to follow it with a small color shift and a brightening of the water to maintain the contrast between water and shark.
A Similar Tool that does the Opposite – Luminance Noise

Getting rid of Luminance noise is effectively doing the opposite of what the Clarity and Haze are trying to do: add contrast vs remove contrast.
Luminance Noise is common in images taken in the dark. Underwater photos have scatter which in many cases can be treated like Luminance noise. There is also Color Noise, which can also happen in (commonly green) water, it is harder to fix. I applied a pretty heavy Luminance correction to “smooth” the water and remove what manifested as grain in the water.

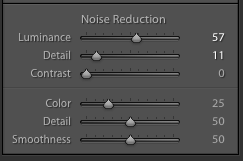
The Luminance Slider is the amount of effect to apply
Detail is like telling what size of speck you want the tool to act on
Contrast is telling the tool how different the luminance of the speck has to be in order for the tool to act on it.
These tools take some trial and error to get it smoothed to your taste without going overboard and making it look smeared.
It will not work on all photos unfortunately and in extreme cases you will have to resort to blurring, masking, and advanced tools in PhotoShop.
You can also try the Adjustment brush to a specific area with the Clarity set to a negative value – anti clarity which can work like a gauze effect. I may explore this in another post one day.
End Results – Luminance Noise Adjusted Water plus Clarity only
End Results – Luminance Noise Adjusted Water plus Clarity & Dehaze
End Results – Luminance Noise Adjusted Water plus Clarity & Dehaze and a brightening of the water
To put back some brilliance in the water that the Dehaze took away, I brightened the water only in the Blue color channel. Any adjustment including just midtone adjustment would have effected the results of Clarity and Dehaze on the black, white, and grey colored whale shark which is where I wanted it. I dont need the technique on the water and it is uniquely blue compared to the whale shark, so using the Blue Luminance on the color channels allows brightening just in the water.
My conclusion is that i will use the Dehaze tool and further explore situations where I can use it.
Also See: