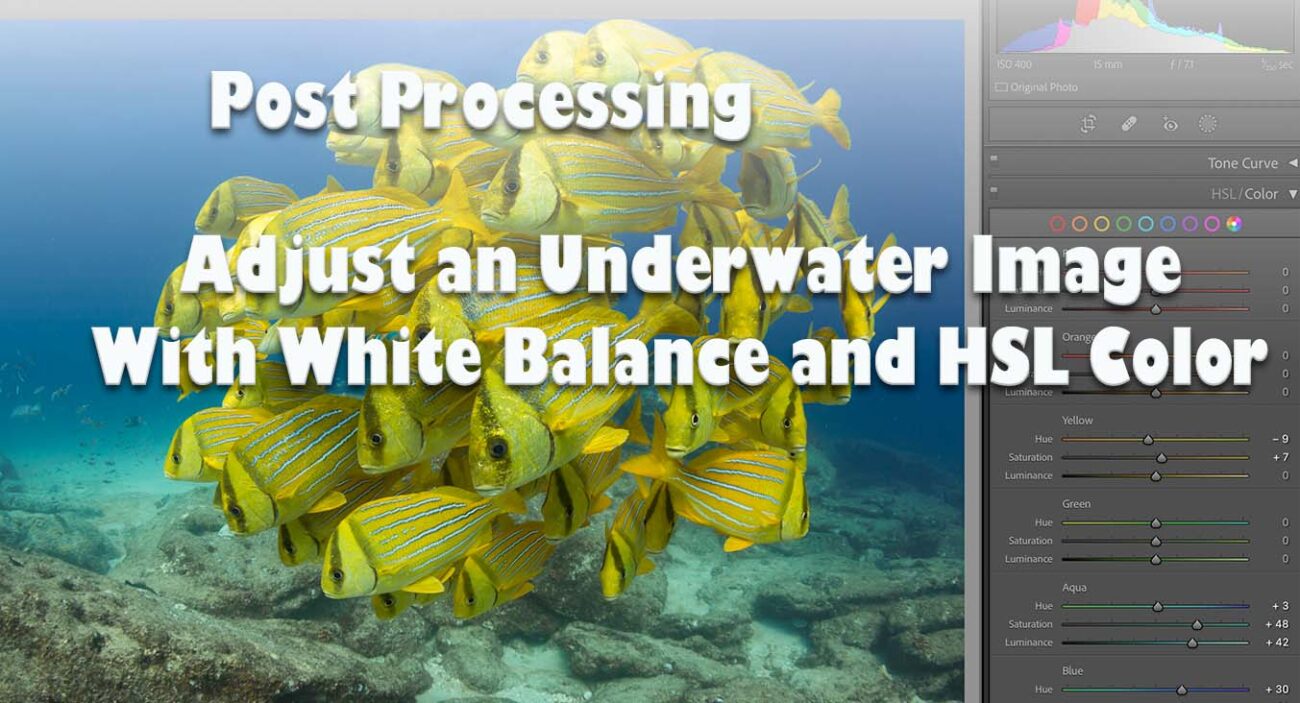

I love visiting Baja Mexico for the diversity of wildlife underwater. The pristine reefs of Cabo Pulmo Marine Park are surprising fills me with hope for conservation of underwater jewels such as this.

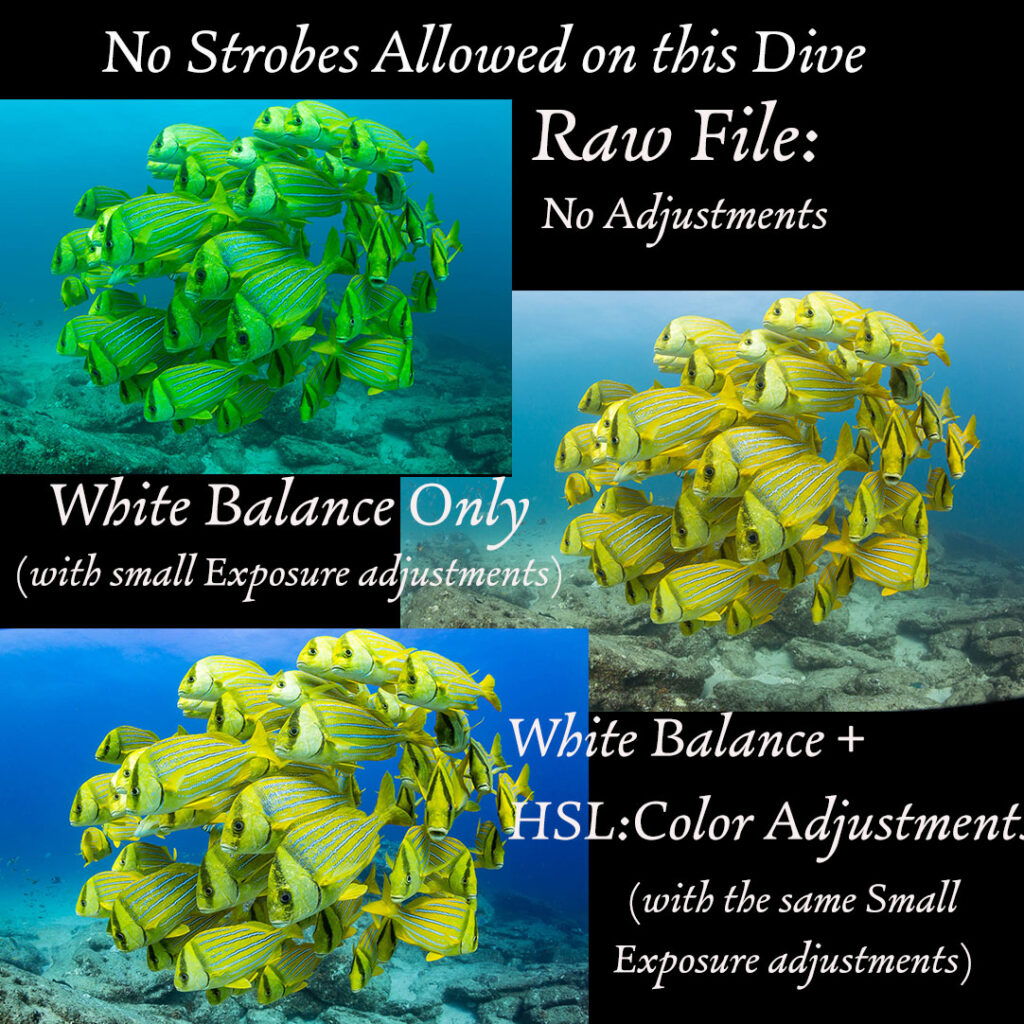
On this trip I did not have strobes with me since my main event was the marlins and bait balls of the sardine run: much too much action to drag strobes around.
A well exposed image taken in relatively shallow water can be corrected to the tones it would have if I had used a strobe.

A simple White Balance adjustment will make a big improvement, but can I make this even better using a few other available adjustment tools.
I will be using the latest version of Adobe Lightroom Classic, but comparable tools are available in many other editing programs.
White Balance Adjustment
First I check the built in White Balance Profiles including Auto, Daylight, even Flash but as expected they make little change. Most “auto” and built in settings do not work on underwater images.
I will use the White Balance Tool to point to a place in the image which should be pure black ( or pure white, which is lacking in this image)
Alternatively I can do this manually by moving the Tint scale all of the way to the Magenta side then adjusting the Temperature toward the yellow end until it looks correct. Check areas which are near black and values in the sand to see that it has become much closer to balanced in the color channels.
Not Quite Satisfactory but we can do more
One side effect is that when the fish look a proper yellow, the blue water background loses some azure and looks a bit less saturated.

This can be managed by masking and adjusting color separately, but this is a job for Photoshop and worth doing if you going to print this image. But for this quick adjustment I will try additional tools within Lightroom.
Use HSL Adjustment to the color channels

On the HSL/Color panel I like to set up the tool to show each of the three components of each color: Hue, Saturation, Luminance. Others prefer to have all Hue adjusters in one panel, Saturation in another, but since I am working one color at a time I want all the controls together.
The White Balance Adjustment has taken much of the Aqua color out of the image especially down on the bottom and it is a little “ too correct” which is to say not as my brain and memory sees it. I push the Saturation way up (to the right) to intensify what is still there. This makes the rocks less brown and makes a nice Aqua tone to the sand in the background.
The Hue slider will make the sand a bit more green (rather than yellow) or a little less pronounced and blended if you move to the blue side of Hue. A small adjustment to Luminance of the Aqua will also make the sand brighter as it should be one of the lightest parts of the image.
The Aqua Channel is key to making underwater wildlife with white undersides such as sharks and whales look corrected with out too much loss of the blue water tones.

The Blue water background is still looking a bit anemic. The Blue tools will help restore some nice color. Moving Hue all the way to the right will introduce a purple tinge so only a small adjustment is called for here. Increasing Saturation helps the tone and intensity. Using Luminance to darken the blues builds contrast in the image and leaves us with a nice shade of blue.
A few other small adjustments to the Hue and Saturation of the yellow and Orange to taste and use Luminosity to create contrast limited to just those color areas.

Using the HSL/Color panel only will not make a satisfactory correction to this image, but it does take an image taken with flash or in shallow water from slightly blue cast to color balanced.
